


Has there ever been a time when you wished you could capture what is shown on your iPhone screen? You might want to talk, show your score, or share a funny meme. Screenshots are very useful in preserving such moments. Let's learn how to take screenshots using different methods on the iPhone and how to share them easily.

How To Screenshot on iPhone on Latest iPhones
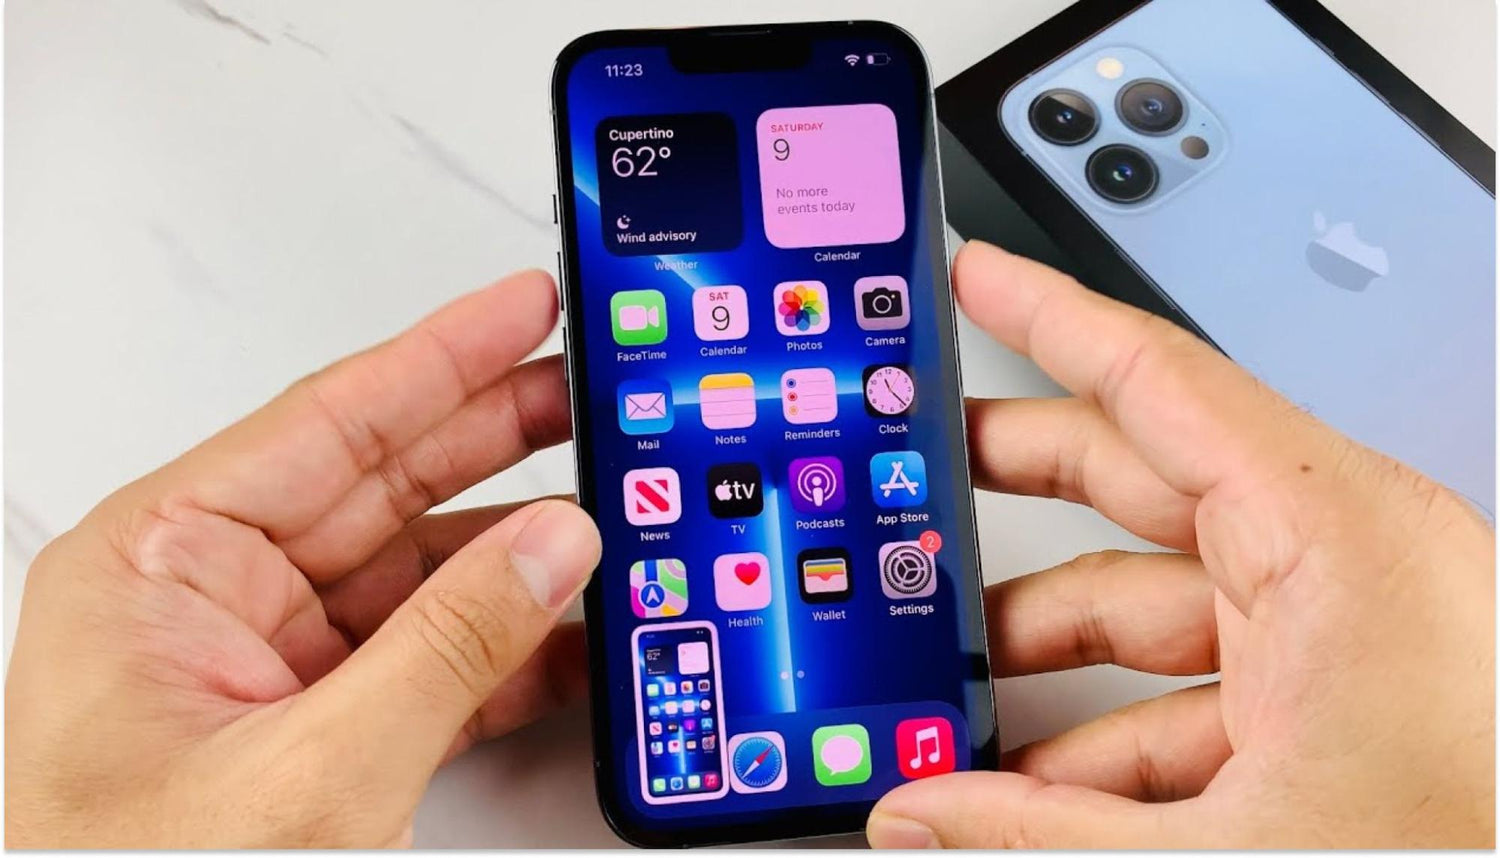
The process of capturing screenshots has changed for newer iPhones without a Home button. This method is simple and works well with iPhone design.
Step-by-Step Guide:
- Find the Buttons: On iPhones without a Home button, you must use the Side Button and Volume Up Button. These keys are quite visible and convenient to use.
- Press the right-side button and the left-sided Volume Up button at the same time to ensure you don’t miss the moment the photo is taken.
- Release Quickly: The instant both buttons are pushed down, release them quickly. You will see a flash on your screen, and if you turn on the sound, you can hear it clicking twice to show that you took a picture.
- To see the screenshot, tap the bottom left corner of your device's screen. You can edit or send it immediately or swipe left if you don't need to. Simply do any last-minute touch-ups here or save them for future purposes.

Taking Screenshots on an iPhone with a “Home” Button
By the way, if you are using an older version of the iPhone that has a Home button, it is done differently but just as easily.
Step-by-Step Instructions:
- Locate the Buttons: Get your iPhone’s front side to find the Home button and one side (or top) button, also known as buttons.
- Press Simultaneously: Hold both up and down side buttons simultaneously while pressing down. This combination does not take much time.
- Release Quickly: When both buttons are pressed, let them go immediately. Your screen will flash quickly, and noise from the shutter will indicate that the screenshot was successful.
- Preview: A thumbnail will appear in the bottom left corner as in newer models… Simply swipe it away or tap to edit or share… Start taking screenshots right away.

Assistive Touch Screenshot Capture
This fantastic tool allows users with trouble using physical phone keys to install and use them easily.
Step-by-Step Instructions:
- Enable AssistiveTouch:
- On your iPhone device, open the settings
- Go to Accessibility
- Then click Touch > AssistiveTouch
- Toggle the AssistiveTouch switch ON
AssistiveTouch provides an on-screen menu that can replace the functions of the hardware buttons.
- Customize AssistiveTouch:
- When turned on, AssistiveTouch creates a floating button on your screen.
- Tap Customize Top Level Menu
- Tap on any icon you wish to replace with take screenshot function
- Select a Screenshot from the provided list of options
This customization lets you quickly access the screenshot function without using physical buttons.
- Taking a Screenshot:
- With this option enabled, tap the AssistiveTouch button on your screen.
- Select Device, then More
- Tap Screenshot. The screen will flash, indicating that a screenshot has been taken.
Using AssistiveTouch is especially helpful for those who find it difficult to press multiple buttons simultaneously.

How to Edit a Screenshot
Now, that you know how to screenshot on iPhone, it’s time for editing. Editing your pictures can help you focus on the important parts and remove the unnecessary parts. Here’s how:
Step-by-Step Instructions:
- Access the Screenshot on iPhone:
- Once you have taken a screenshot, a thumbnail will appear at the bottom left-hand corner of the screen.
- Tap on it to open the editing interface.
This quick access allows you an opportunity to make any adjustments as quickly as possible.
- Edit Options:
- Crop: Select the cropping tool and remove all unwanted portions from your screenshot.
- Mark Up: Press the pencil icon and draw, mark, or write something on your screenshot photo.
- Add Text: Use the text tool to insert notes or comments.
Use these tools for different editing options, which will eventually get you satisfied with your screenshot on iPhone.
- Save Your Edits:
- When finished editing, tap "Done" at the top left side of the screen.
- Your next selection will be “Save to Photos” or “Save to Files”, depending on where you want the file stored.
This step makes sure that your changed picture is saved somewhere easy to find when you need it.
- Find Your screenshot on iPhone:
The edited screenshot on iPhone will be saved in an album called “Screenshots” within the photos app.
Knowing where your screenshots are can save you time. You can use them later to share or make changes.

How to share screenshots
It’s easy to share a screenshot with friends or colleagues. The following is a step-by-step guide to help you share your iPhone screenshots straight from the device.
Once you have captured and adjusted your screenshot, sharing it becomes important. You can do this via text messages, emails, or social media sites.
Step-by-Step Instructions:
- Open the Screenshot:
Go to the Photos app and locate your screenshot in the “Screenshots” album.
This is the first step towards accessing and sharing your screenshot.
- Tap the Share Icon:
- Open the desired screenshot.
- Find an arrow in the bottom-left corner of a square with an up arrow inside. This will let you share more options.
The various options for sharing a screenshot are opened by this icon labeled ‘share’.
- Choose Sharing Option:
- Decide how you would like to share this with either Messages, Mail, AirDrop, or apps featuring Instagram or Facebook, among others.
- Follow the prompts to send/post your screenshot.
This step-by-step process lets users share their screenshots, no matter their platform.
Taking screenshots on any iPhone model, whether it has a Home button or not, is important for capturing and sharing information. You can improve your screen shots with AssistiveTouch, editing tools, and sharing options. Use this guide to capture, edit, and share any moment on your iPhone.
Lifehacks
- Use Siri to Take a Screenshot: You can ask Siri to "Take a picture of my screen" without pressing any buttons.
- Create Folders for Organized Screenshots: Sort your screenshots into folders within the Photos app so they are easier to find later.
- Use Third-Party Apps for Advanced Editing: Advanced editing tools that Snapseed or Adobe Photoshop Express provide makes your screengrabs look stunning.
- Screenshot Entire Web Pages: In Safari, take a screenshot and choose the "Full Page" option to capture the entire web page.
- Annotate Screenshots for Work or Study: The mark-up tools can be used to add notes to screens, making them more meaningful for presentations or study materials.
Leave a comment
This site is protected by hCaptcha and the hCaptcha Privacy Policy and Terms of Service apply.